

Shemp!
In 3D.... what a relief! (Get it??)

Some quick updates to my last post sharing my deep dive into digital sculpture…
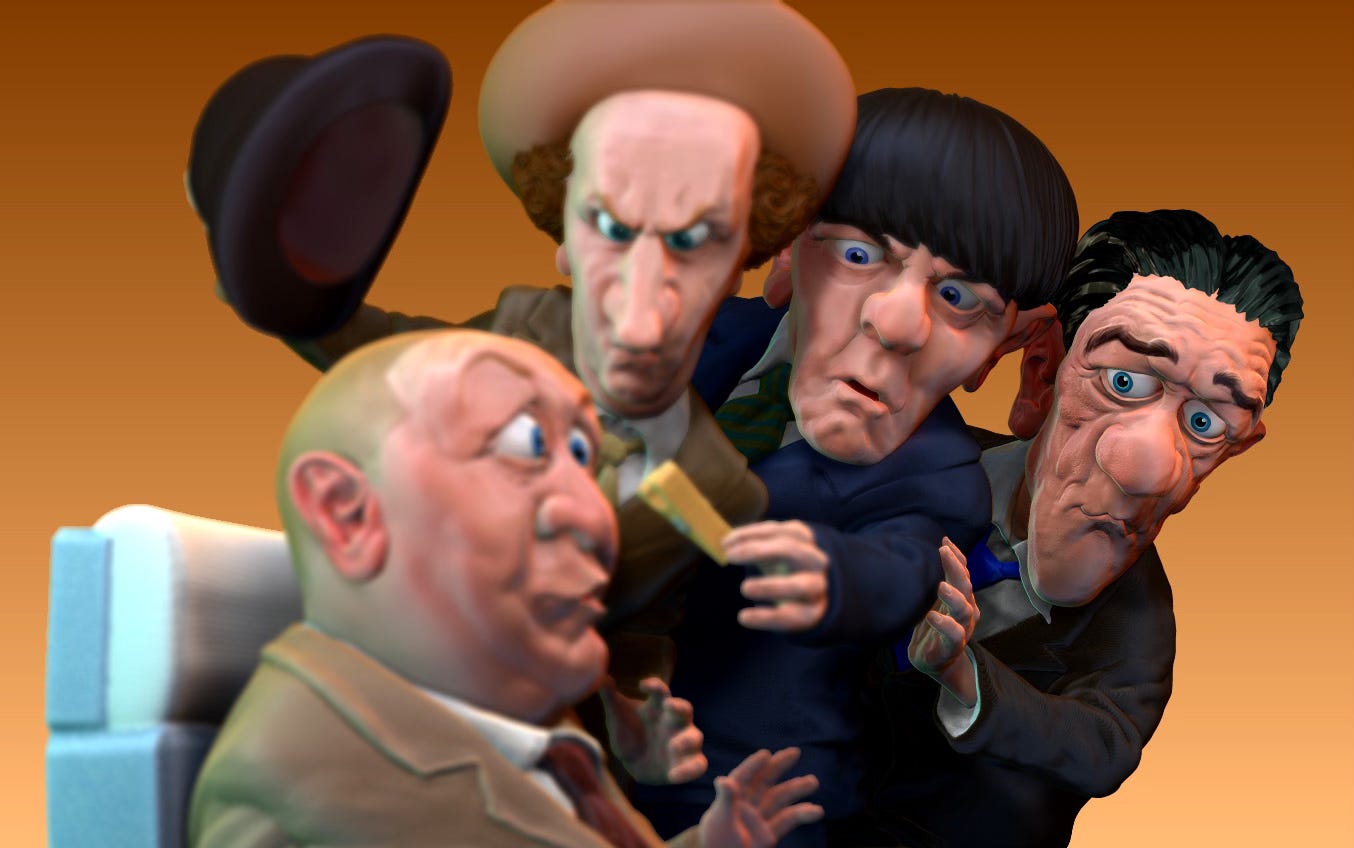
The Three Stooges (well, four, in this case) have now been realized in full color… no easy feat, as anyone who’s tackled digital sculpture can attest.
For a quick refresher, here’s where things started:
And here’s where things ended up:
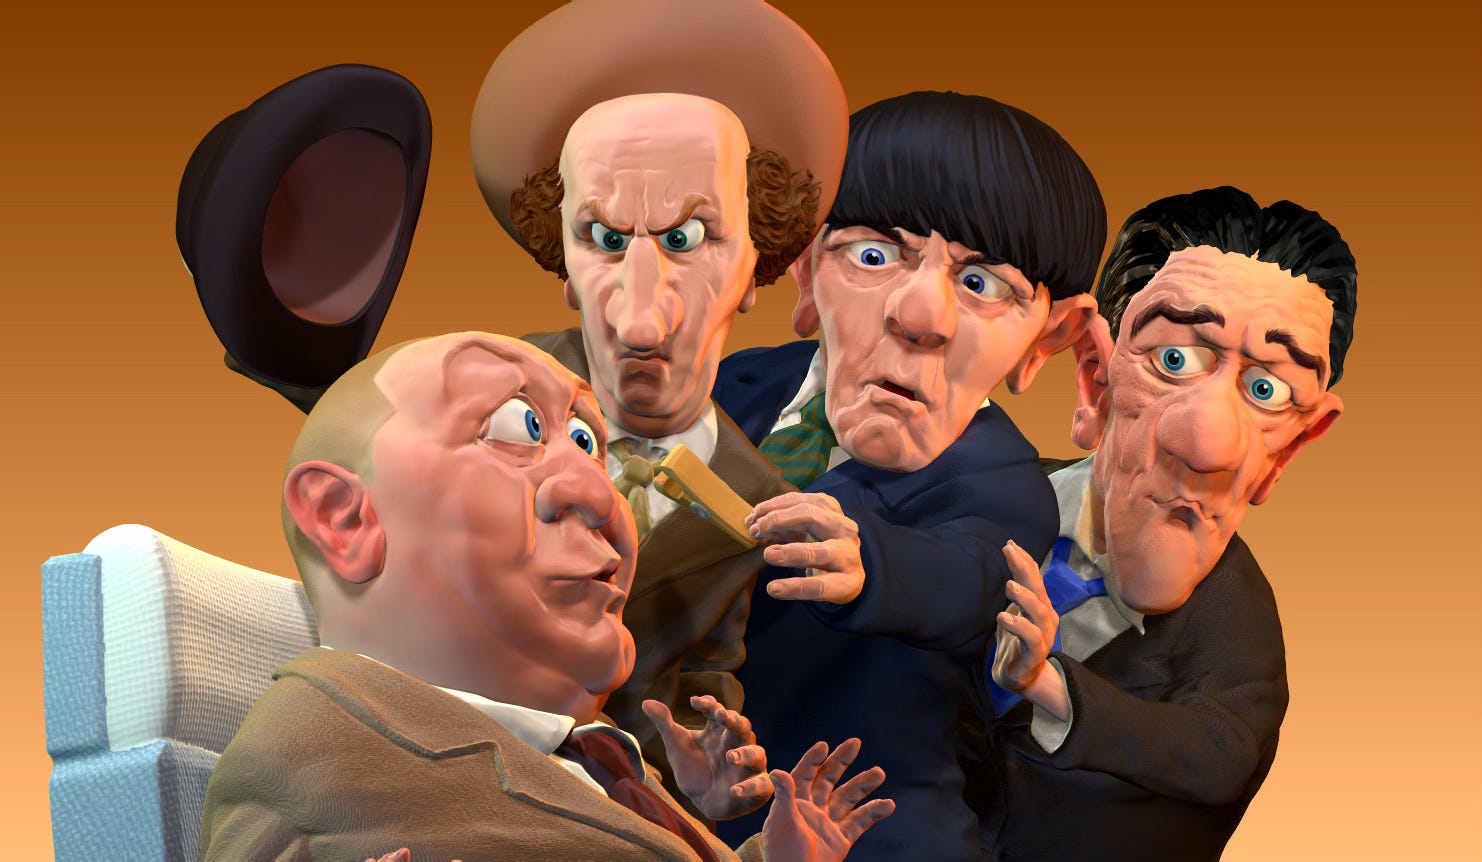

For fun, here’s a look at this thing in the early stages:
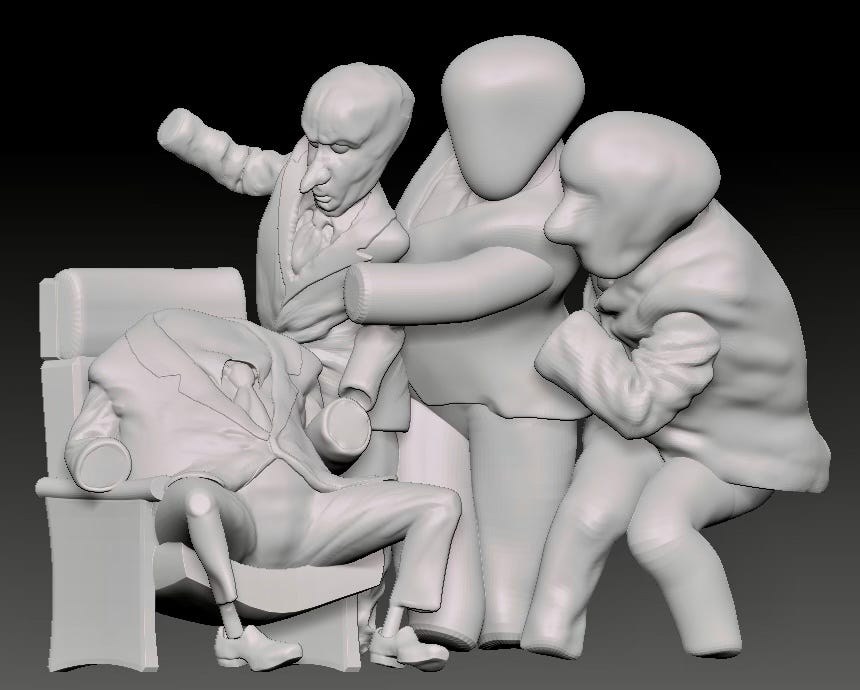
Since that first post, I’ve been asked if I’ve had anything 3D printed. The answer is Yes, though it turns out, that brings its own set of challenges.
Since I don’t have a 3D printer, I sent this file to my local library. Turns out, if the file isn’t perfect, it simply won’t print, for any number of reasons. After a number of back & forths, fixing various errors, I finally was able to get some semblance of a print. Case in point, I present exhibit A:
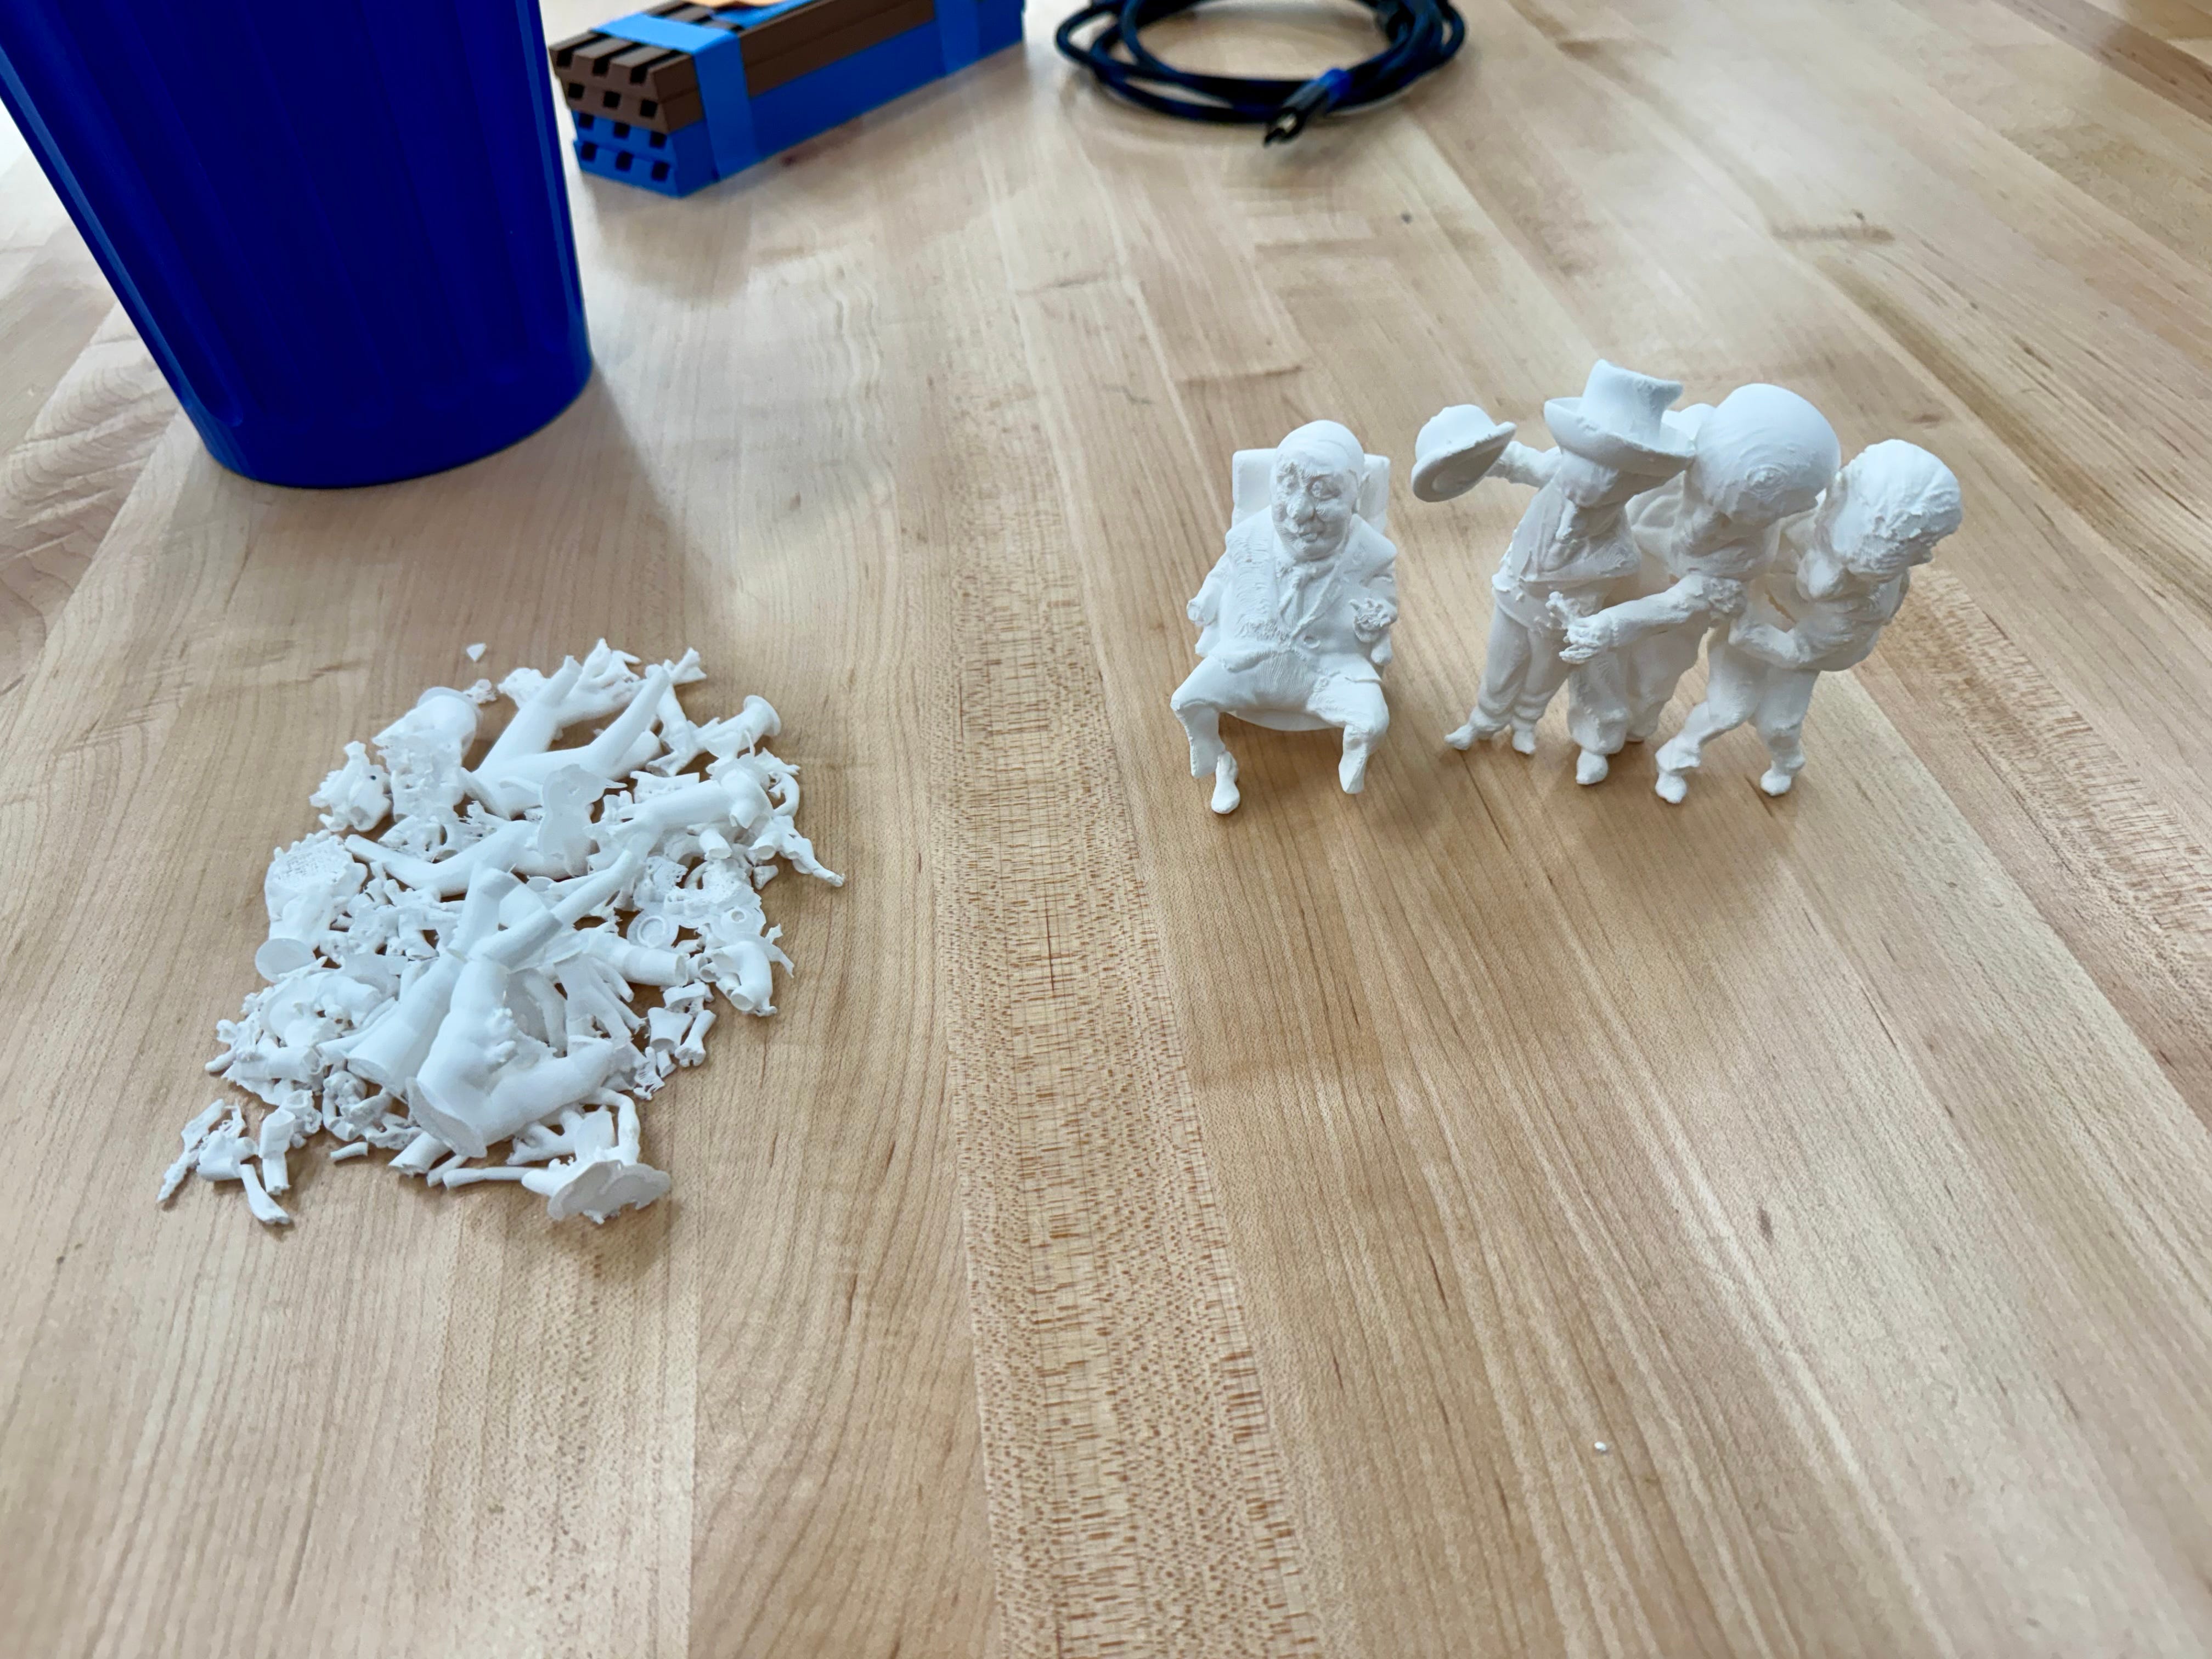
Now, I’m not really sure what’s going on here, other than the pile of carnage on the left is mostly leftover supports and connective pieces the printer automatically places on the model during the print in order to maintain one continuous build. (The guys at my local library are kind enough to take it upon themselves to tackle the arduous task of cut away the extra bits & pieces & cleaning up the model). It looks like that might also be a scraped first attempt at a print that clearly didn’t work.
There was a lot of problems at this point, and not just the fact that the printer had a nozzle that was way too large for the detail I had in this model. I had my model sized to be about 11 inches wide, and this print was only around 5 or 6, and extremely, for lack of a better term, low res. It turns out, a lot of that had to do with my actual sculpt- this was my second model, and I learned a LOT during the whole thing. So, I basically took what I had and redid all 4 figures to make the whole thing more efficient internally and much more workable. Not though you’d notice on the screen- all the changes I made were at the polygon level, but as an example, what was in the high 6 digit number of polygons (vs a 2D file’s pixel structure) was now in the much more reasonable 5 digit range, with every error I had come across in the printing taken into account and dealt with.
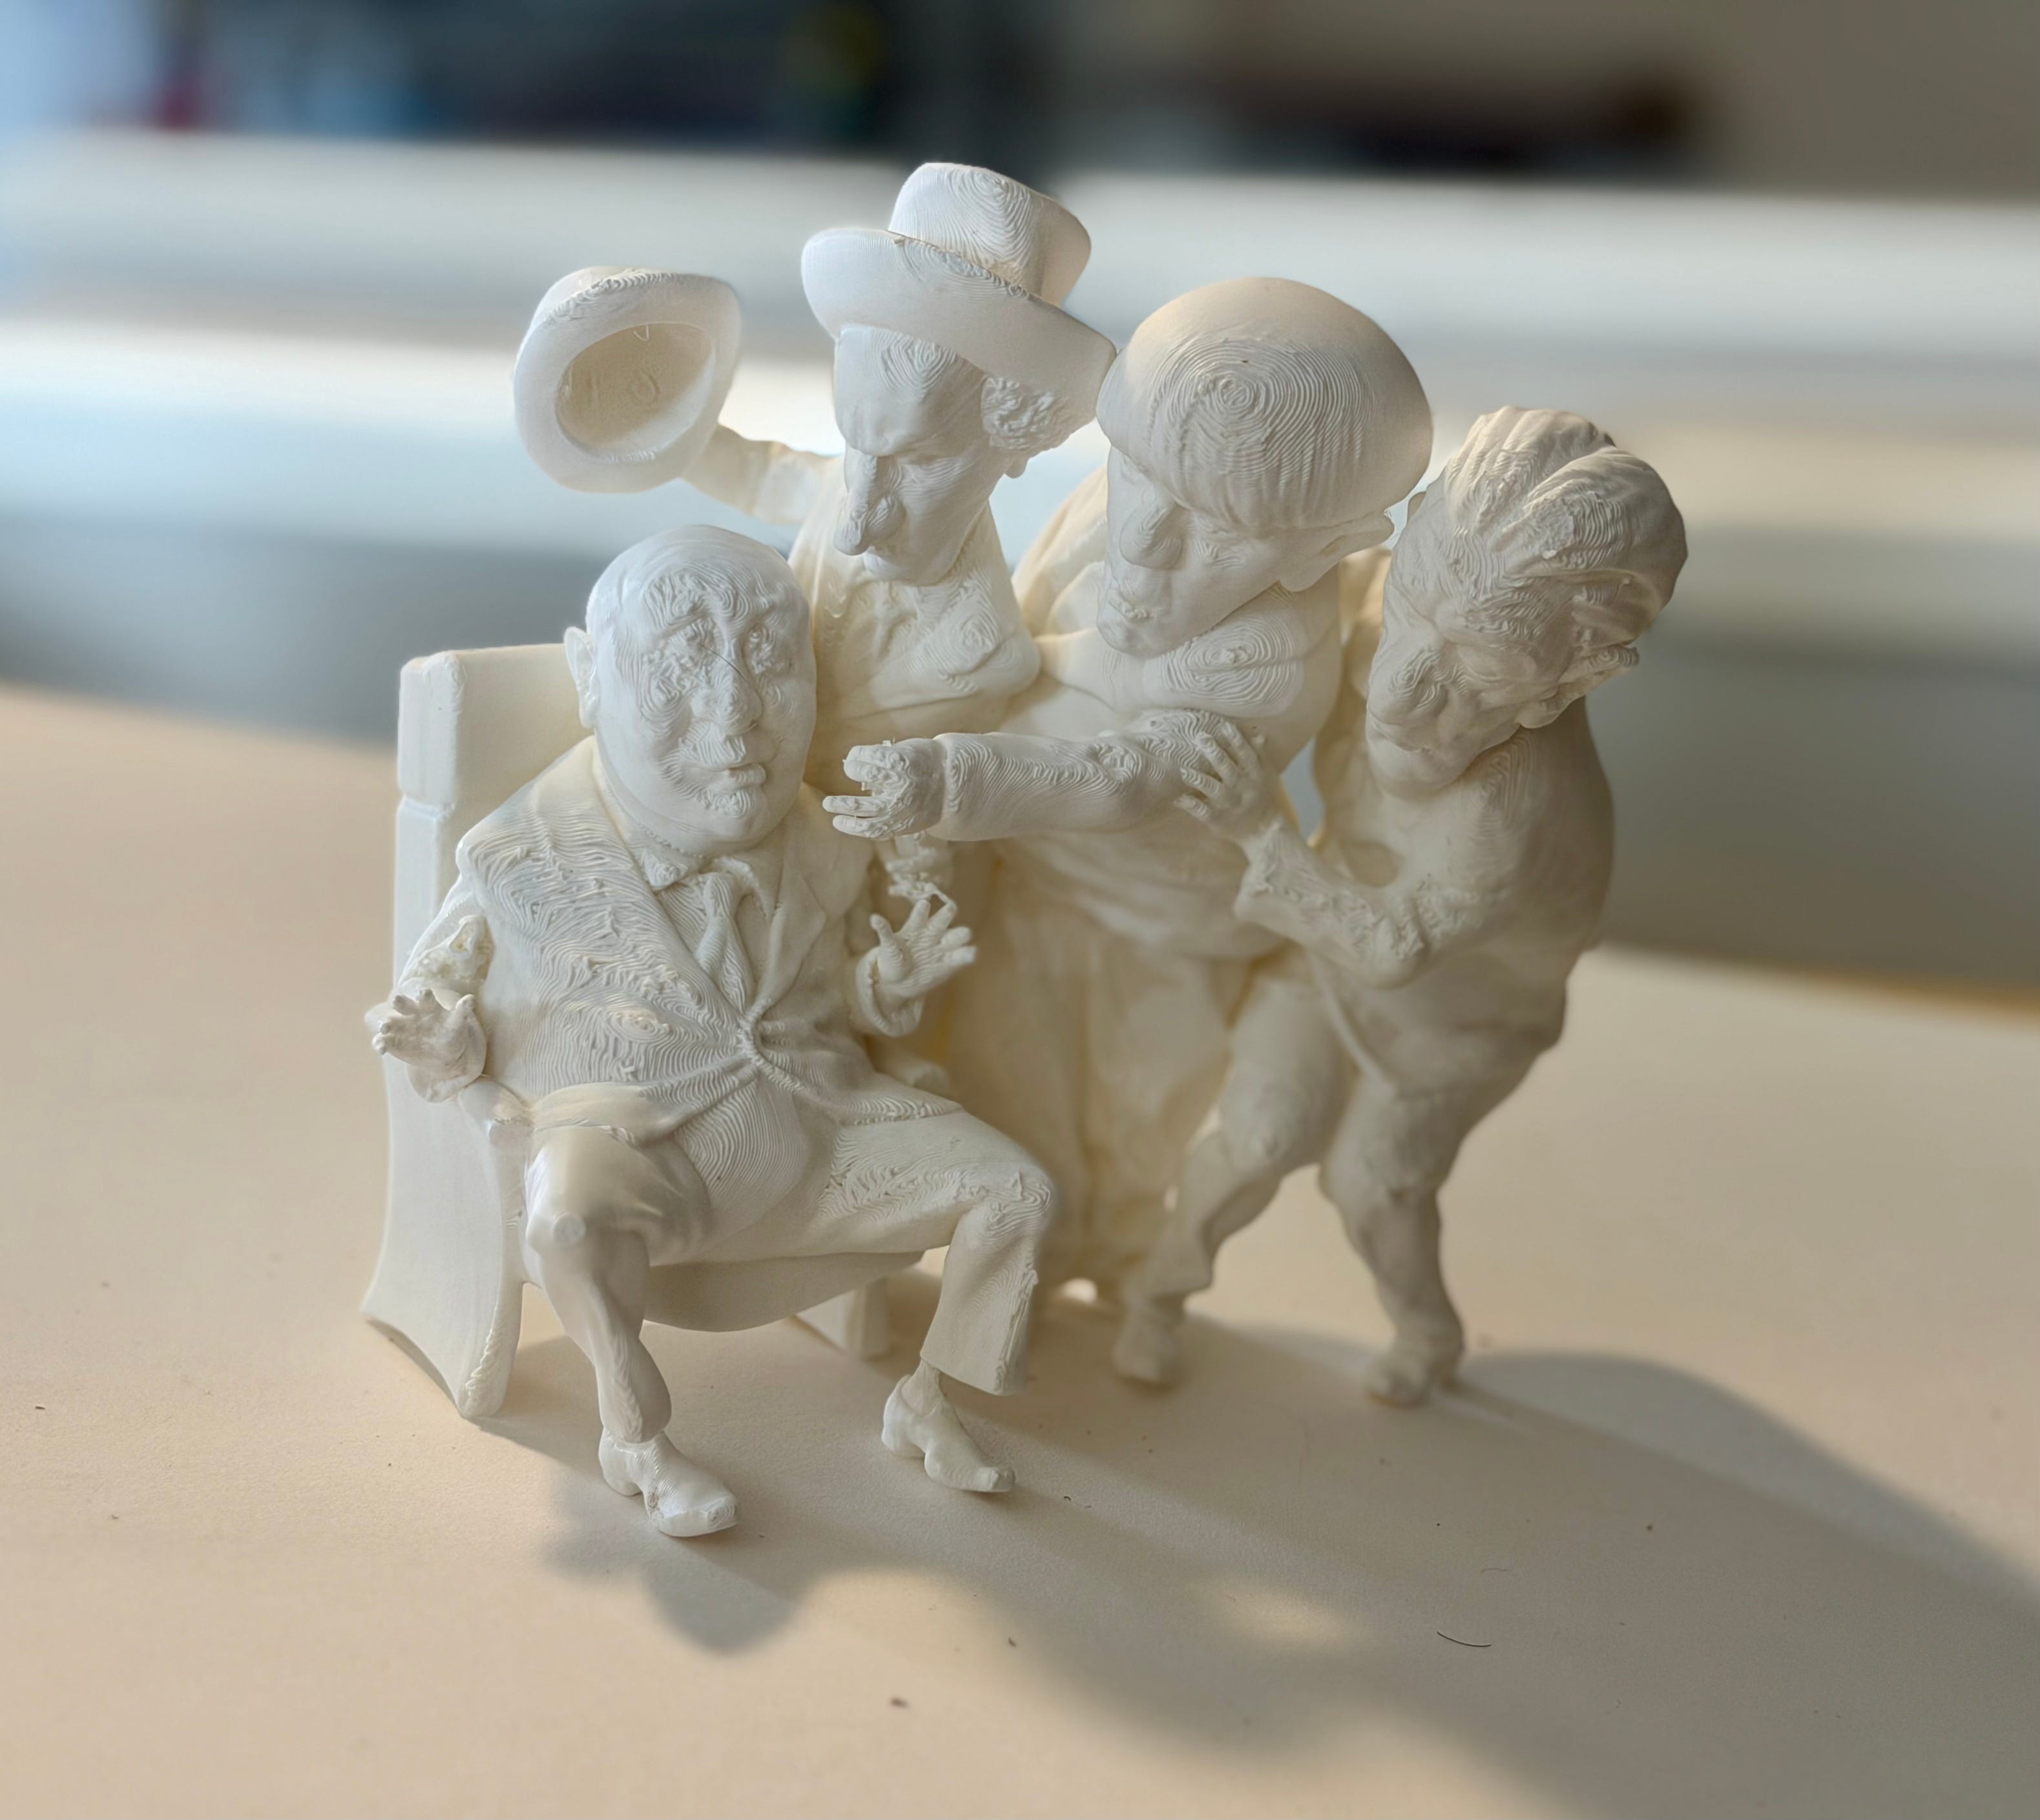
Unfortunately I’m stuck with the wide nozzle printer, and a super reduced sized print while utilizing the free services of my local library, but these are just proofs, anyway. No amount of Dremel sanding will alleviate those banding lines, believe me, I’ve tried.
What it all comes down to is, if it can print at any size with no errors, then files are solid, that’s all that really matters.
Here’s a few more shots of this model:


That is a colossal undertaking,. I'm impressed. I'm also very impressed with the services of your local library. Bravo!.
Sahweeeeeeeeeet!🙌👏